If I had known there would be ironing AND algebra in sewing, I might have chosen a different hobby. This little pattern is adorable and should have been pretty easy, until... I decided to add sleeves and collars. And I chose a fabric with a border print (border print addict. cannot control myself.) that ALSO needed to be underlined. This added extra time during cutting to line up the design and required a separate cutting of all pattern pieces in a batiste underlining as well. There was also a piece missing from the smaller pattern, so before I could even start the cutting, there had to be Math. Ug.


The bodice of the smaller pattern had been cut for the scoop neck style. The extra pattern piece was not present, but I really wanted those little peter pan collars and I had the larger pattern to use as a guide, so I gave it a try. Bless the woman who used the larger pattern, as she knew what she was doing. I could tell that she too opted for the scoop neck style by the presence of pin holes and pencil lines, but she left the pattern intact so that I could use it to trace the extra neck piece. After tracing the missing piece, I placed the bodice front and back of the smaller pattern together, along with the new wedge to see how much too large the wedge would be. Using the back bodice piece as a guide, I marked how much too big the wedge was and calculated what percentage too large it was. I then measured in several places along the wedge, reduced by the same percentage, marked my curve and cut. This required cross multiplication. With fractions. I thought I had left that behind in junior high with lots of other unpleasantness... I am not sure if this is how one should actually go about this process, but in the end, it did seem to fit rather nicely.
 |
| Trace the neck piece of larger pattern |
 |
| Mark the excess |
 |
| Cut away excess |
 |
| Compare to original |
Once I recovered from all of the Math, I moved on to cutting, which also took a while, as I wanted to use the border print for the full skirt. Here I veered slightly from the pattern, which provided a back and front skirt piece. However, they were both just large rectangles, so I laid them out end to end and cut one long continuous piece for each skirt, as to avoid messing up the border print. This eliminated both side seams and a "V" that was to be cut at center back to allow for entry into the skirt. I simply stitched up one back seam, stopping a few inches from the top and turned this section into the "V" needed to put on and take off the dress. I also cut a few extra inches of skirt, just in case I needed to adjust for the border print. This worked out just fine.
 |
| Cutting skirt |
 |
| Matching pattern at back seam |
 |
| Back seam |
 |
| Bias bound "V" |
While we are on skirts: The pattern called for slip stitching the hem, but with about 24 feet of hem between both skirts and their linings, I decided it was time to christen the blind hem foot. My manual was a little confusing on this point, but I found a great tutorial from Craftsy that you can see
here. The pressing, pinning, turning and stitching were still time consuming, but nothing like slip stitching would have been. I did have trouble with my blind hem foot wanting to stray from the seam edge, but could find no better solution than a lot of stopping and repositioning.
 |
| How much skirt does a 2 year old need?? |
 |
| Turned twice, pressed and pinned |
 |
| Flipped and pinned for the blind hem foot |
 |
| Blind hem foot |
 |
| Using the blind hem foot |
 |
| Hemmed with blind hem stitch |
 |
| Blind hem stitch front and back |
 |
| Batiste lining with blind hem |
 |
| Batiste lining with blind hem |
As I mentioned, the material was too thin to wear without a lining, so I underlined all the bodice, sleeve and collar pieces with batiste and added a lining to the skirt as well. I also self-lined the sash as opposed to narrow hemming, as the pattern called for. I spent an entire afternoon at my friend Jen's
sewing party being anti-social and lining all the pieces for this dress. I also got my sashes and collars done.
These patterns were starting to get a little small for my girls, so there were several fittings and, after several rounds of basting and seam ripping, I ended up taking smaller darts and sewing on a 1/2" seam for my 4 year old and a 1/4" seam for my 2 year old (hers was a size 1...)
The collar attachment baffled me. I could not understand the directions at all. Many thanks to my Mama Leah for explaining this ultimately VERY SIMPLE process...
 |
| Baste collar to bodice (right side of bodice to wrong side collar). Stitch down bias binding |
|
 |
| Trim bias binding. |
 |
| Turn under seam allowance and bias binding, press, slip stitch into place. |
 |
| Done. |
Sleeves were next. I had never attached a sleeve in this manner (combo of eased and flat?). I was hoping it would be less annoying than the usual way, but it was still pretty much a pain. Easing is for the birds. It did get done though and hem was finished with bias binding and more slip stitching.
The pattern called for the sashes to be attached at the very end to the outside of the dress, but I did not care for the look of the raw edges, even though they would be hidden under the sash, so I opted to install them along the side seams when stitching down the side of the sleeves and bodice. This worked fine and I prefer the cleaner look. I did reinforce the seam due to anticipated tugging.
My buttonhole foot did not like the hem at the edge of the back facing and made a giant bird's nest when I attempted my first button hole. After spending an hour with the seam ripper, I just moved the button holes a little further from that hem, and all was well.
 | | | |
| Original buttonhole placement |
 |
| Revised buttonhole placement |
The bloomers were pretty standard, although they did require 1/16" seams around each side of each casing. I'm not sure the extra seam really made much of a difference and would probably skip that next time.
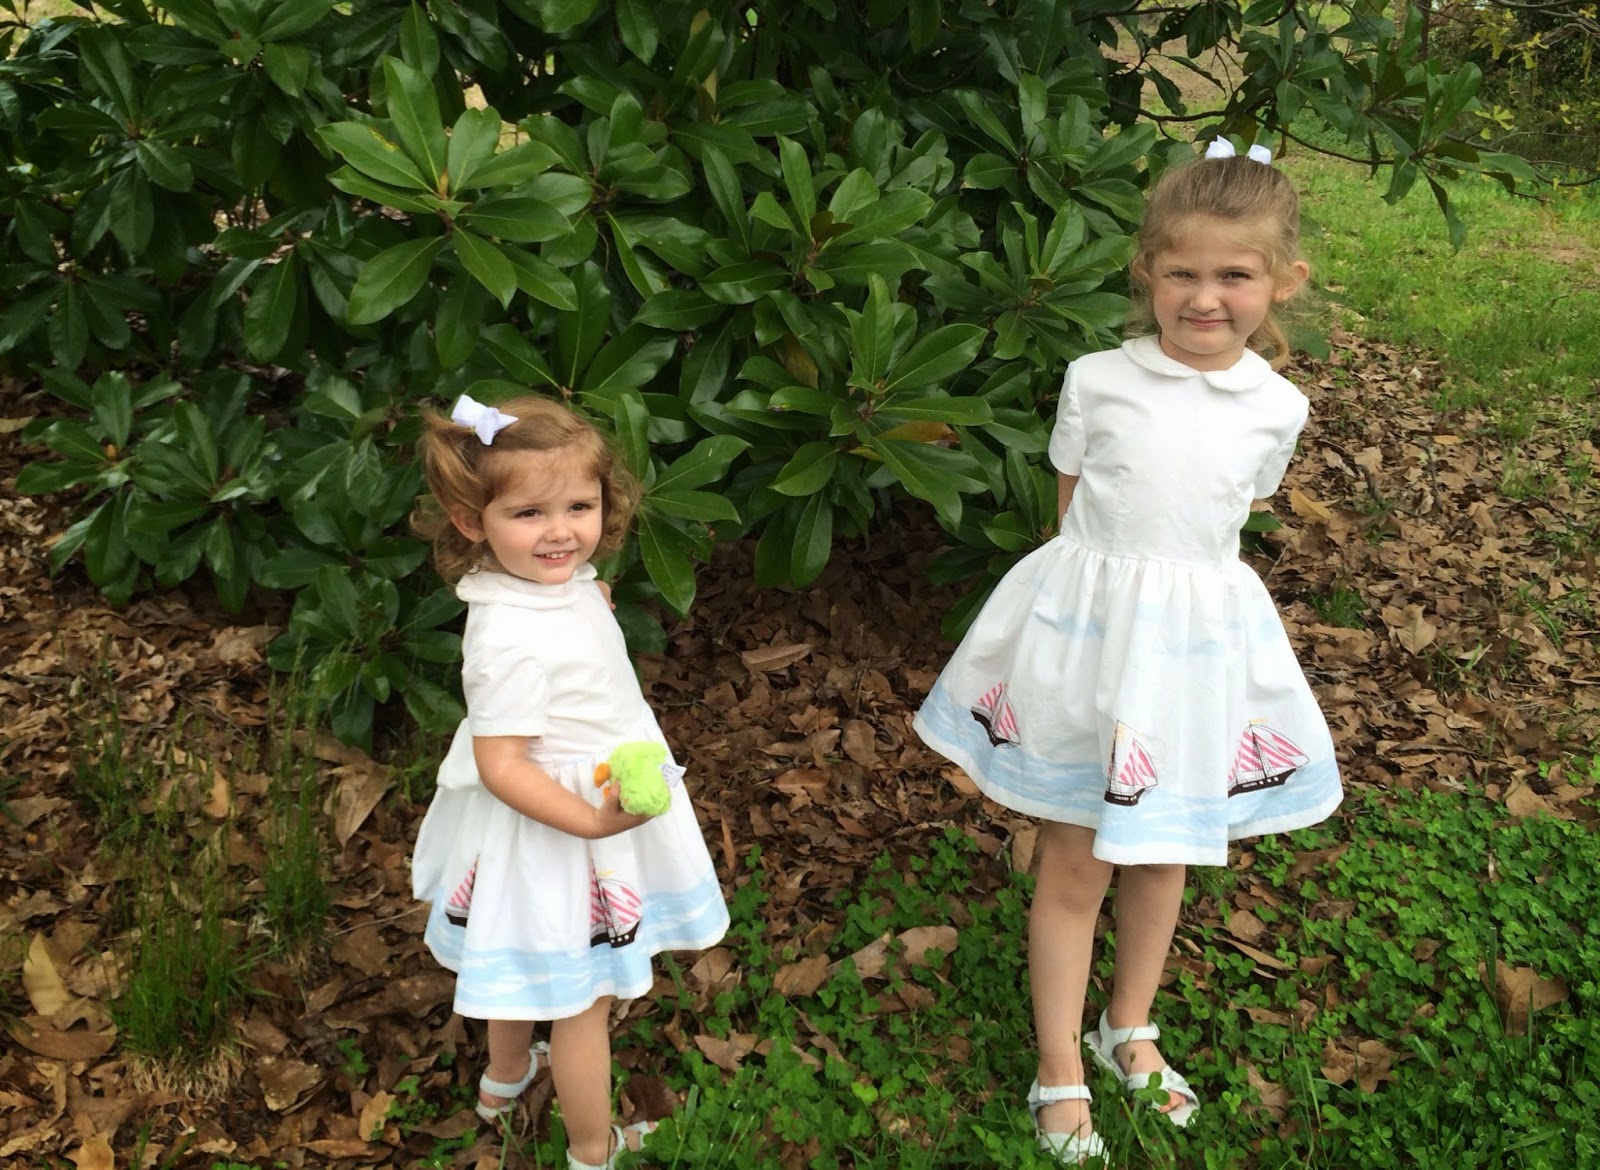
Done! Since we have to leave for church before 8am on Easter, we decided to take our pictures a week early :)


.jpeg)
.jpeg)
.jpeg)
.jpeg)

.jpeg)
.jpeg)
.jpeg)
.jpeg)
.jpeg)
.jpeg)
.jpeg)
.jpeg)
.jpeg)